We are not a registered Medicare/Medicaid Provider

If you are considering veneers near Gainesville, VA, you probably have questions about the process. Understanding what happens to your tooth during veneer bonding in Gainesville can ease any anxiety you feel. The procedure involves more than simply placing a thin shell over your tooth. It is a carefully planned, multi-step process that Dr. Paul Han guides you through from start to finish.
Veneers fall under the broader umbrella of Cosmetic Dentistry, which focuses on improving the look and function of your smile. At Haymarket Dental, we believe educated patients make more confident decisions. This guide walks you through every stage of veneer bonding so you know exactly what to expect.
Your Veneer Consultation in Gainesville: Where It All Begins
The journey starts with a thorough consultation. Dr. Han examines your teeth, gums, and bite to determine whether veneers are the right fit. He also reviews your dental and medical history to identify any concerns before treatment begins.
During this visit, you and Dr. Han discuss your smile goals together. You might want to close gaps, cover discoloration, or reshape worn teeth. Your input directly shapes the treatment plan. This step also gives you the chance to ask every question on your mind.
Dr. Han may take X-rays or digital impressions during the consultation. These images help map the exact dimensions of each tooth. A precise plan at this stage leads to better results during the bonding appointment. Nothing moves forward until you feel fully informed and comfortable.
Enamel Removal: What Happens to Your Tooth Before Bonding in Gainesville
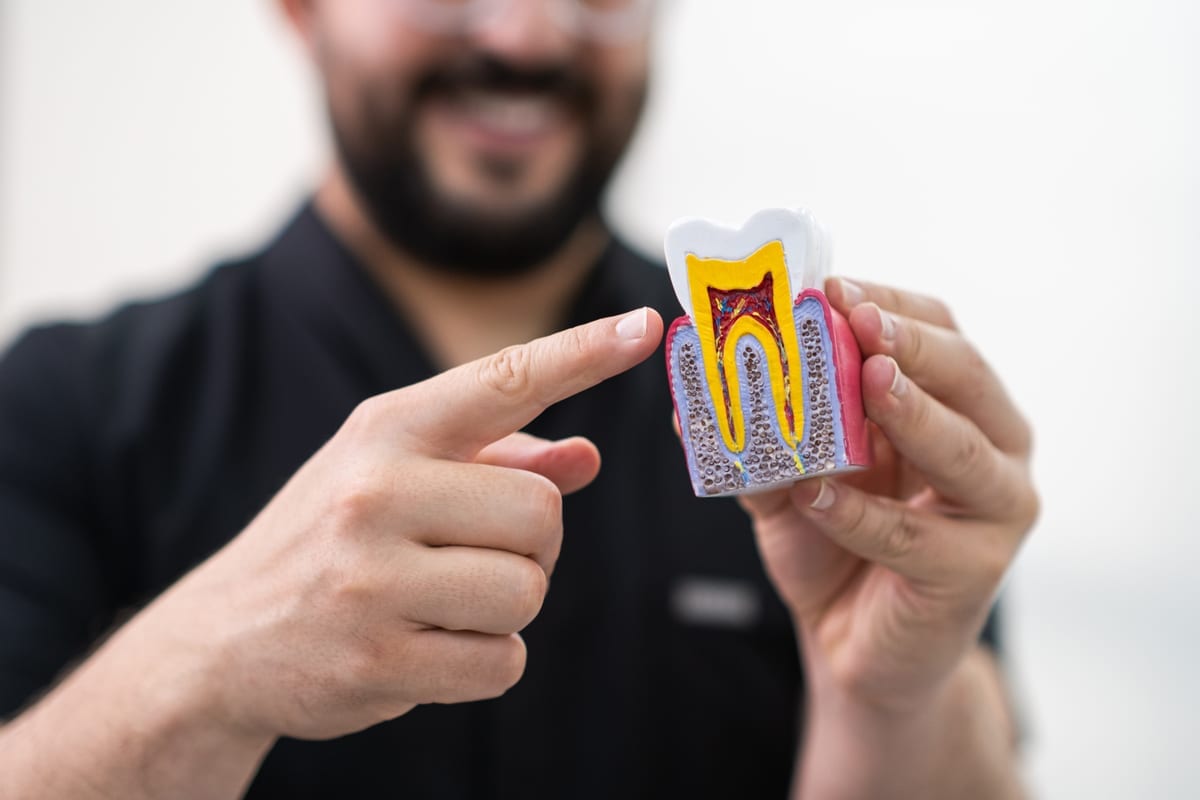
Once you approve the treatment plan, the preparation phase begins. Dr. Han removes a thin layer of enamel from the front surface of each tooth receiving a veneer. This step is necessary so the veneer sits flush against your natural tooth. Without it, your tooth would look and feel bulky after bonding.
The amount of enamel removed is typically very small — about 0.5 millimeters. That is roughly the thickness of a fingernail. However, this step is permanent. Once enamel is removed, your tooth will always need a veneer or crown for protection.
Here is what the enamel preparation process involves:
- Numbing the area with local anesthetic for your comfort
- Using a dental drill to gently buff the enamel surface
- Taking precise impressions of the prepared tooth
- Sending those impressions to a dental laboratory
- Confirming shade selection before the lab begins crafting your veneers
Dr. Han takes great care during this stage to preserve as much natural tooth structure as possible. Some patients feel mild sensitivity after preparation. This is normal and typically fades once the final veneers are placed.
Shade Selection and the Temporary Veneer Phase
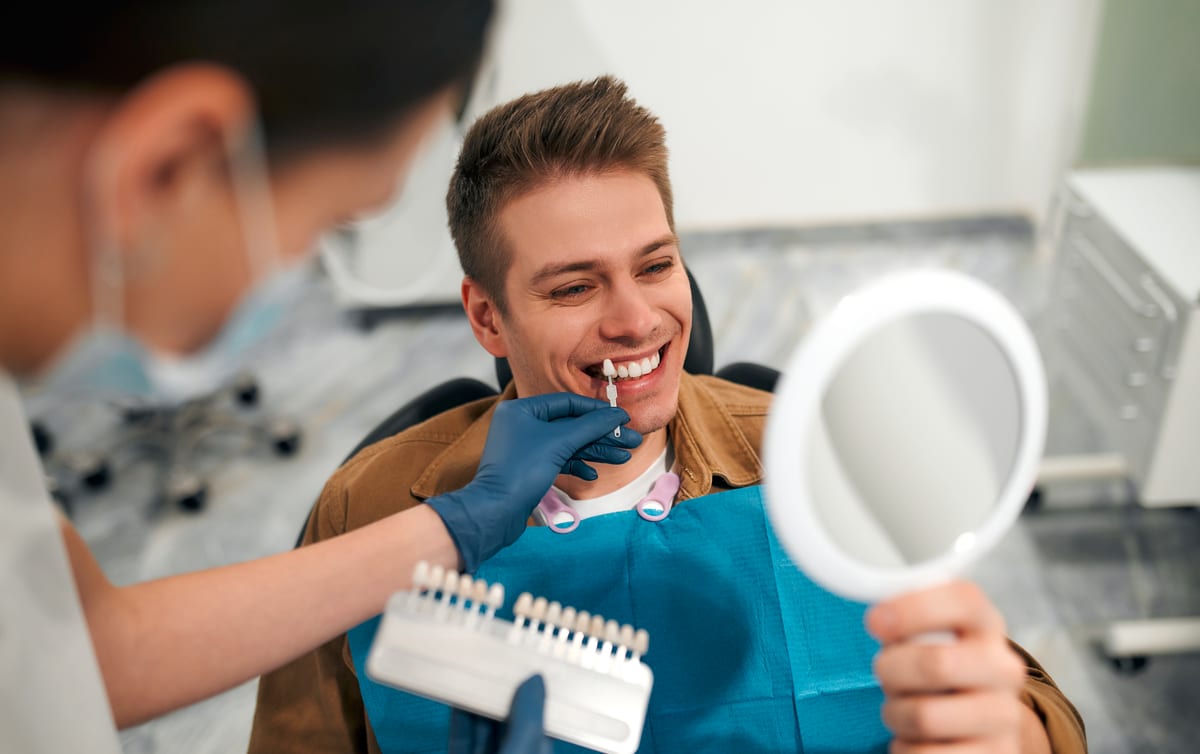
Shade selection is one of the most exciting parts of the veneer process. You and Dr. Han choose a color that matches your desired outcome. The shade should complement your skin tone, eye color, and natural teeth nearby.
Haymarket Dental uses a detailed shade guide to find your ideal match. Dr. Han also considers how the light hits your teeth throughout the day. A shade that looks natural in the dental chair should also look natural in sunlight and indoor lighting.
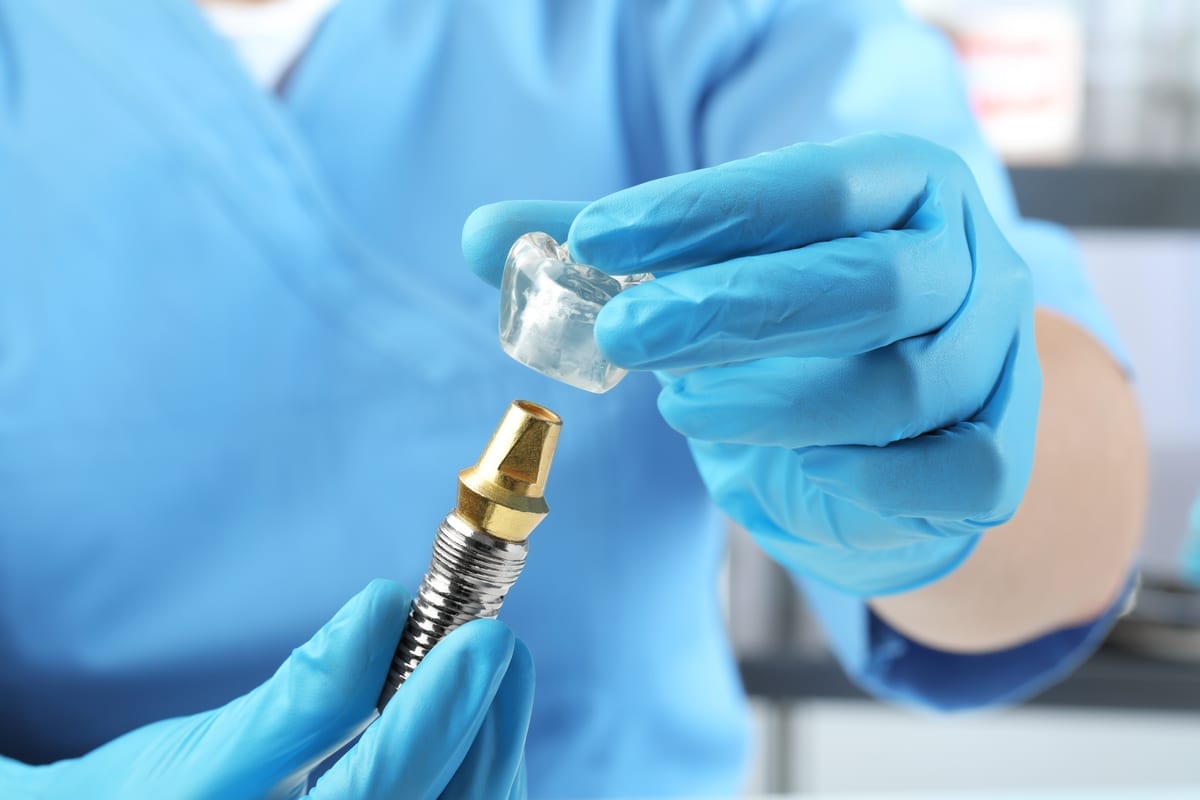
While your permanent veneers are being crafted at the lab, Dr. Han places temporary veneers on your prepared teeth. These temporaries protect the exposed enamel and give you a preview of your new smile. They are not as strong as your permanent veneers, so some dietary adjustments apply during this phase.
Benefits of the temporary veneer phase include:
- Protecting your teeth while you wait for the lab
- Previewing the shape and size of your new smile
- Giving feedback to Dr. Han before the final bonding
- Reducing sensitivity on prepared teeth
Most patients wear their temporaries for one to two weeks. If anything feels off during this time, contact the office right away. Adjustments at this stage are much easier than after final bonding.
The Final Veneer Bonding Appointment: Step by Step
When your permanent veneers arrive from the laboratory, you return for the bonding appointment. This visit is where the transformation becomes permanent. Dr. Han begins by removing the temporary veneers and cleaning your teeth thoroughly.
He then places each veneer on the tooth without adhesive to check the fit and color. If anything needs minor adjustment, the lab can polish or trim the veneer at this stage. Only when everything looks perfect does the bonding process begin.
Here is a step-by-step breakdown of the final bonding appointment:
- Tooth cleaning: Dr. Han removes temporaries and cleans the tooth surface.
- Etching: A mild acid gel is applied to create a rough surface for bonding.
- Primer application: A bonding agent is brushed onto the tooth to improve adhesion.
- Cement placement: Special dental cement is applied inside the veneer shell.
- Positioning: Dr. Han carefully positions the veneer onto the tooth.
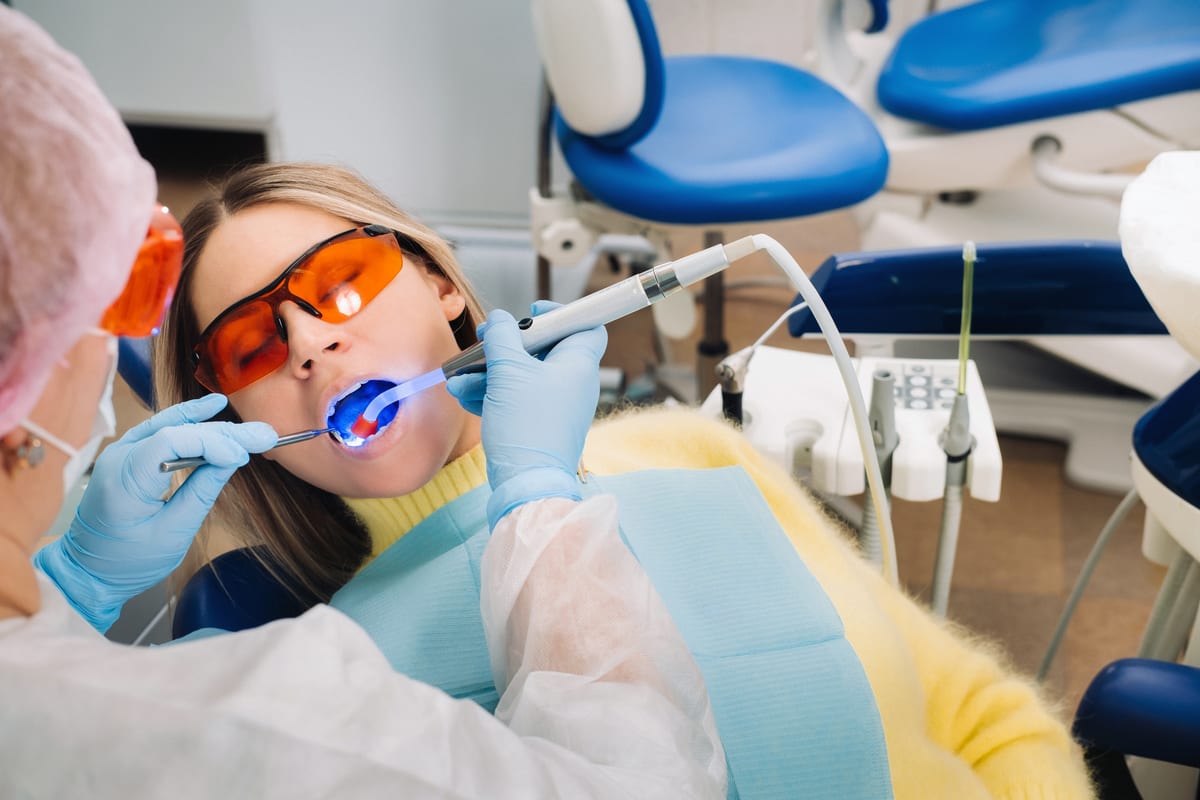
- Light curing: A special curing light hardens the cement in seconds.
- Bite check: Dr. Han checks your bite and makes any final adjustments.
The entire bonding appointment usually takes one to two hours. You leave the office with a permanently transformed smile. Most patients are surprised by how comfortable and natural their new veneers feel right away.
Caring for Your Veneers After Bonding in Gainesville
Veneers are durable, but they do require consistent care. Brush twice daily with a non-abrasive toothpaste and a soft-bristled toothbrush. Floss every day to keep the gum line healthy around each veneer.
Avoid biting hard objects like ice, pens, or fingernails. These habits can chip or crack even well-bonded veneers. If you grind your teeth at night, Dr. Han may recommend a custom nightguard to protect your investment.
Regular checkups at Haymarket Dental help extend the life of your veneers. During these visits, Dr. Han checks for early signs of wear, chipping, or gum changes. Patients who follow good oral habits can expect their veneers to last a decade or longer.
Veneers are one part of maintaining a healthy, confident smile. Many Gainesville patients also benefit from routine Family Dentistry care to support their overall oral health alongside cosmetic work. Pairing preventive care with cosmetic treatment delivers the best long-term results.
Conclusion
Understanding what happens to your tooth during veneer bonding in Gainesville helps you approach the process with confidence. From the initial consultation to enamel preparation, shade selection, and final bonding, each step is purposeful. Dr. Paul Han and the team at Haymarket Dental are here to guide you through every stage with expertise and care. Book Now to schedule your appointment with our team.
Frequently Asked Questions
Is enamel removal during veneer bonding painful?
Dr. Han numbs the area with local anesthetic before removing any enamel. Most patients feel little to no discomfort during preparation. Some mild sensitivity after the appointment is normal and typically resolves quickly once permanent veneers are placed.
How long does the entire veneer process take from start to finish?
The full process usually takes two to three weeks. The consultation and preparation happen in early visits. The dental laboratory then crafts your custom veneers, which typically takes one to two weeks before your final bonding appointment.
Can I choose my veneer shade on my own?
You have significant input in shade selection, but Dr. Han also guides the decision. He considers your skin tone, the natural teeth around the veneers, and how different shades look under various lighting conditions. The goal is a result that looks natural and complements your overall appearance.
What should I avoid eating while wearing temporary veneers?
Temporary veneers are not as strong as permanent ones, so it is best to avoid hard, crunchy, or sticky foods during this phase. Steer clear of ice, hard candies, caramel, and tough meats. Eating softer foods helps keep your temporaries in place until your permanent veneers are ready.
How long do porcelain veneers last after bonding?
With proper care, porcelain veneers typically last between ten and fifteen years or longer. Regular dental checkups, good brushing and flossing habits, and avoiding teeth-grinding help maximize their lifespan. Dr. Han evaluates your veneers at each visit to catch any issues early.